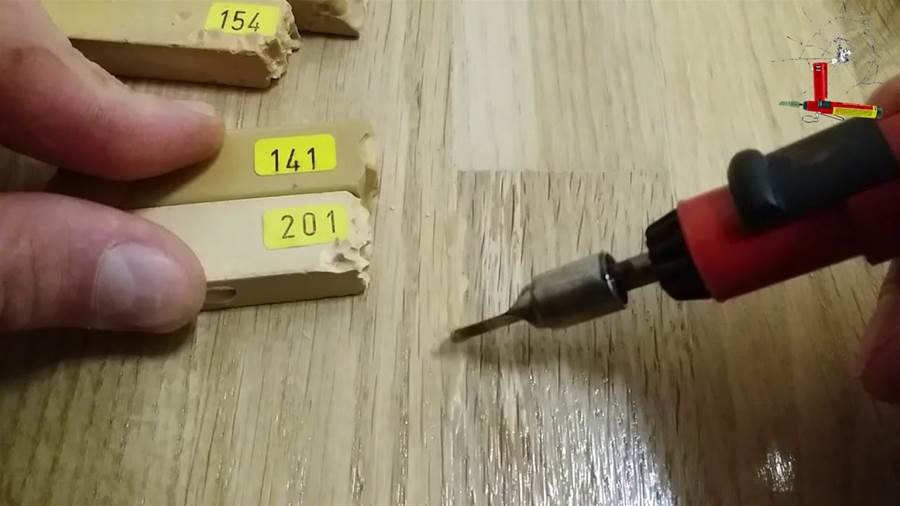

If you notice unsightly gaps or seams in your wooden floor, there's no need to panic. With a little DIY effort, you can easily fix these seams and restore the beauty of your floor. This article will guide you through the process of fixing seams on a wooden floor.
The first step in fixing the seams is to determine the cause of the gaps. Often, these gaps are a result of natural shrinkage and expansion of the wood due to changes in humidity and temperature. In some cases, the gaps may be due to poorly installed floorboards or inadequate spacing between them.
Once you have identified the cause, you can start fixing the seams.
One simple and effective solution is to use wood filler or putty. Begin by thoroughly cleaning the area around the gaps to remove any dirt or debris. Then, apply the wood filler into the gaps using a putty knife. Make sure to press the filler firmly into the gaps to ensure a solid bond. Once the filler is dry, sand it down to create a smooth, even surface. Finally, finish the patched area to match the rest of the floor by staining or painting it.

Another method to fix seams is by using rope. This technique works well for wider gaps.
Start by measuring the length of the gap and cut a piece of natural fiber rope to match that length. Apply wood glue into the gap, making sure to spread it evenly. Then, press the rope into the gap, ensuring it fits snugly. Wipe away any excess glue and let it dry. Once the glue is completely dry, trim the excess rope and sand it down. Finally, finish the patched area to blend with the rest of the floor.
For more significant gaps, you may need to use wooden shims. First, clean the gaps and remove any debris. Then, cut wooden shims to fit the length of the gaps. Apply wood glue to the shims and insert them into the gaps, making sure they are firmly in place.
Wipe away any excess glue and allow it to dry thoroughly. Once dry, trim the excess shims and sand them down to create a smooth surface. Finish the patched area to match the surrounding floor.
Prevention is key when it comes to avoiding future gaps or seams. Ensure that your floorboards are properly installed with adequate spacing to allow for natural expansion and contraction. Additionally, maintain a consistent humidity level in the room to minimize the wood's natural movement. Regularly inspect and maintain your wooden floor to detect any potential issues early on.
In conclusion, fixing seams on a wooden floor is a manageable DIY task.
Whether you choose to use wood filler, rope, or wooden shims, the process involves cleaning the gaps, applying the necessary materials, and finishing the patched area to blend with the rest of the floor. By addressing these gaps promptly and taking preventive measures, you can restore the beauty of your wooden floor and maintain its longevity.
