This article provides a step-by-step tutorial on how to replace and repair a broken or damaged door jamb. The article aims to make the process easy to understand, enabling readers to perform the fix themselves.
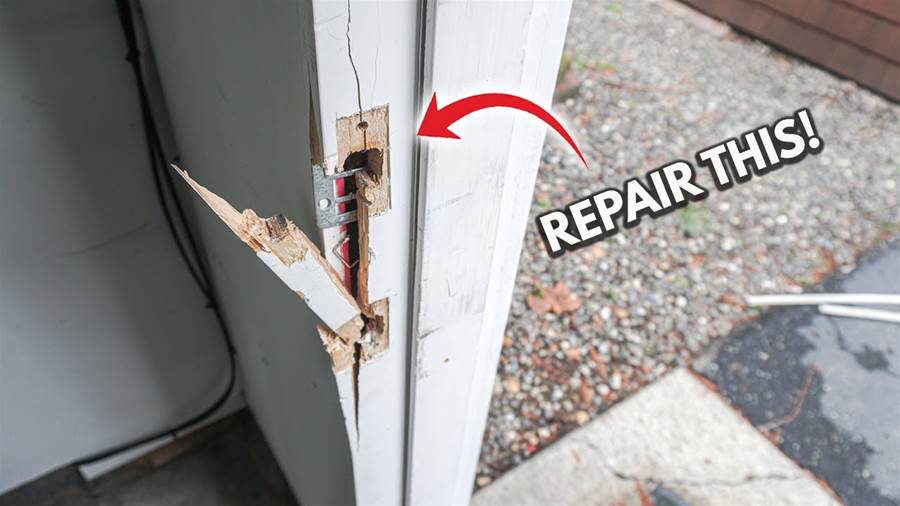
The first step is to assess the extent of the damage. This includes examining the door jamb for cracks, breaks, or splintering caused by a forceful kick or other impact. The evaluation helps determine whether the jamb needs repair or complete replacement.
If the damage is minor, repair can be attempted. The article suggests that repair may involve applying wood glue into the cracks or using a putty knife to fill in the gaps with wood filler.
In cases of splintering, the author recommends removing the loose pieces, applying glue, and clamping them back together.
However, if the damage is extensive or repair attempts are unsuccessful, the article advises replacing the door jamb entirely. The tutorial emphasizes the importance of purchasing a replacement jamb that matches the length, width, and thickness of the original jamb. It also suggests buying a pre-hung door jamb kit for easier installation.
The next step involves removing the damaged jamb.
This usually requires using a pry bar to detach it from the door frame. Additional tools such as a saw or chisel may be necessary to remove any remaining sections. A cautionary note is given to avoid damaging the surrounding frame during this process.
Once the old jamb is removed, the article instructs readers to prepare the replacement door jamb. This includes measuring and cutting it to the appropriate size using a saw. The tutorial recommends making precise measurements and using clamps or a vise to hold the jamb securely during cutting.
After the replacement jamb is prepared, it should be installed into the door frame.
The tutorial recommends applying wood glue to ensure a strong bond between the jamb and frame. Additionally, the author suggests using screws or nails to secure the jamb firmly. This step may require the use of a drill or hammer.
Finally, the article advises readers to test the door's functionality after the repair or replacement process. This includes ensuring that the hinges are properly aligned and that the door closes and locks smoothly. Any adjustments necessary for a proper fit should be made before considering the job complete.
In summary, this tutorial provides a comprehensive guide on how to replace and repair a broken or damaged door jamb.
By following the step-by-step instructions, readers can easily tackle this DIY fix, either by repairing minor damage or replacing the entire jamb if necessary.
