Are you looking to fix the damage on your tile without having to hire a professional? You can easily repair your damaged tiles using a restoration kit and following a few simple steps. This article will provide a brief summary of how to go about fixing tile damage using a DIY restoration kit.
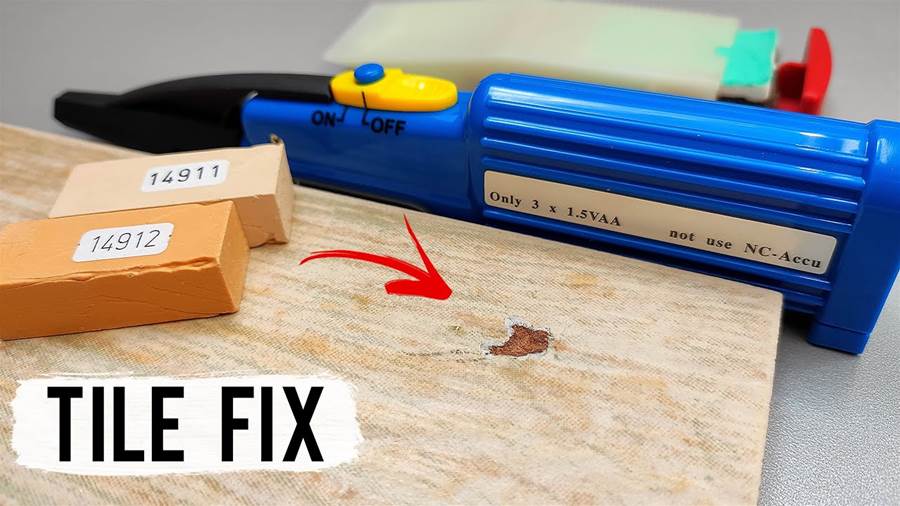
Firstly, you will need to gather the necessary materials for the repair. This includes a tile restoration kit, which typically contains a bonding agent, filler, sealant, and paint. Additionally, you will need some basic tools such as a scraper, sandpaper, masking tape, and a paintbrush.
To begin the repair process, clean the damaged area thoroughly and remove any loose or broken tiles.
Use the scraper to get rid of any dirt or debris that may be present. Next, apply the bonding agent to the damaged area using a paintbrush, ensuring that it is evenly coated.
Once the bonding agent has dried, mix the filler included in the kit according to the instructions provided. Apply the filler to the damaged area, making sure to smooth it out and level it with a putty knife. Allow the filler to dry completely before proceeding.
After the filler has dried, use sandpaper to smooth out any rough edges or uneven patches.
Once the surface is smooth, apply the sealant to protect the repaired area. Use masking tape to protect the surrounding tiles and ensure clean edges.
Finally, utilize the paint provided in the restoration kit to match the color of the repaired tile with the rest of the floor. Apply the paint using a small brush and allow it to dry completely. Once the paint has dried, remove the masking tape, and your tile repair is complete.
By following these simple steps and using a tile restoration kit, you can easily fix the damage on your tile and restore it to its original appearance without the need for professional help.
