If you have a leaky roof, it is crucial to repair it promptly to prevent further damage to your home. This article explores some steps on how to repair a leaky roof effectively.
The first step is to locate the source of the leak. Start by inspecting the attic for any signs of water stains or mold. Follow the trail to find the exact spot where the water is coming in. Once you have identified the source, mark it for easier access later.
Next, gather the necessary tools and materials for the repair. This may include a ladder, roofing nails, roofing cement, a trowel, and replacement shingles. Ensure you have all the required safety equipment, such as gloves and a safety harness, before starting the repair.
Before repairing the leak, remove any debris or loose materials from the damaged area. This includes clearing away any leaves, twigs, or moss that may have gathered on the roof. Use a broom or brush to gently sweep away this debris.
Once the area is clear, apply roofing cement to seal the leak. Use a trowel to spread the cement evenly over the damaged area, ensuring that it covers the entire spot. Press down firmly to create a strong bond.
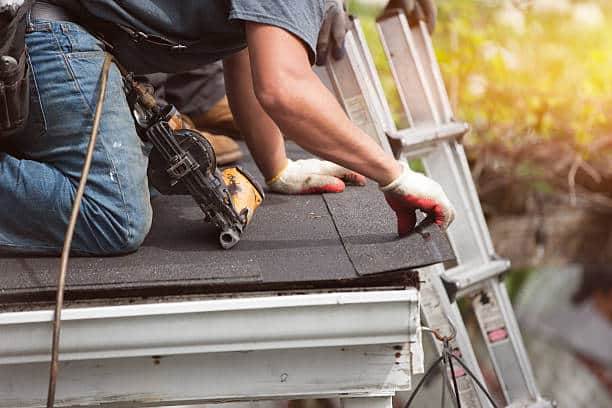
After applying the roofing cement, replace any damaged or missing shingles.
Secure them in place using roofing nails. Ensure they are properly aligned and flush with the surrounding shingles.
Finally, inspect your repair to ensure it is sealed correctly. You can test this by spraying water on the repaired area and checking for any leaks. If there are no further leaks, you can be confident that your roof is now repaired.
Remember, it is always recommended to seek professional help if you are uncomfortable with any aspect of the repair or if the damage is extensive.
