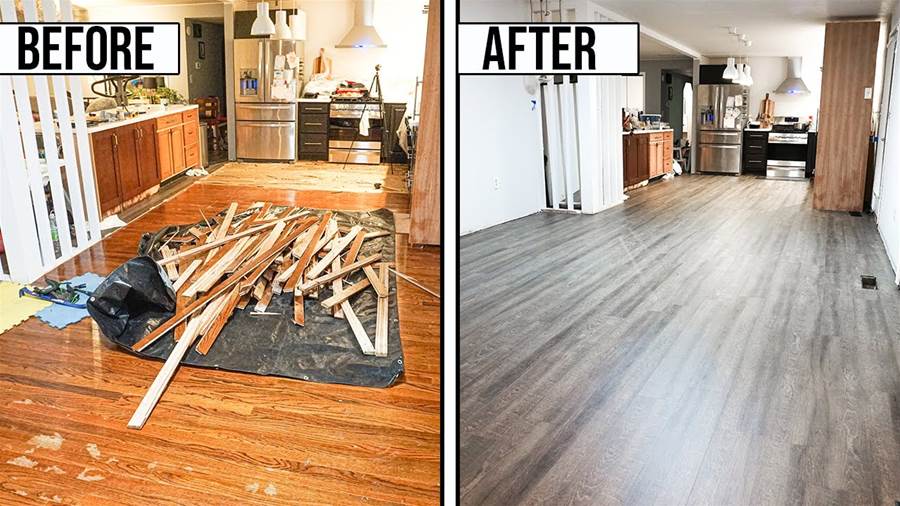

If you are a beginner and looking to install vinyl plank flooring in your kitchen and living room as a part of your home renovation project, this article is here to guide you through the process. Vinyl plank flooring is becoming increasingly popular due to its durability, affordability, and ease of installation. By following these step-by-step instructions, even a beginner can successfully install vinyl plank flooring and give their space a fresh and updated look.
Step 1: Prepare the Surface
Before you begin installing the vinyl planks, it is important to ensure that the surface is clean, smooth, and dry.
Remove any existing flooring or carpet and thoroughly clean the subfloor. If necessary, use a self-leveling compound to even out any uneven areas or apply a primer to ensure proper adhesion.
Step 2: Measure and Acclimate the Planks
Measure the dimensions of your kitchen and living room to determine the amount of vinyl plank flooring you will need. It is recommended to purchase 10% extra to account for any mistakes or waste. Additionally, allow the planks to acclimate to the room temperature for at least 48 hours before installation. This will prevent any buckling or warping in the future.

Step 3: Plan the Layout
Plan the layout of the vinyl planks to ensure a visually pleasing and efficient installation. Start by finding the center of the room and use a chalk line or laser level to create reference lines. This will help you maintain straight and even rows of planks. Consider starting the installation in a less noticeable area, such as behind a kitchen island or along a wall.
Step 4: Install the First Row
Begin by laying the first row of planks along the reference line, making sure to leave a ¼ inch gap between the planks and the wall. This will allow the planks to expand and contract as needed.
Use a mallet and tapping block to secure the planks together tightly. Cut any excess length using a utility knife.
Step 5: Continue Installation
Continue installing the vinyl planks in rows, interlocking them together using the tongue-and-groove system. Use a mallet and tapping block to ensure a snug fit and use a pull bar for the last plank in each row. Stagger the end joints of the planks to create a more natural and visually appealing look.
Step 6: Trim and Add Finishing Touches
Once you have installed the majority of the vinyl plank flooring, you may need to trim the planks to fit around door frames or other obstacles.
Use a jigsaw or miter saw to make precise cuts. After completing the installation, add transition strips or moldings to cover the gaps between the vinyl planks and adjacent flooring types.
In conclusion, installing vinyl plank flooring in your kitchen and living room is an achievable project for beginners. By following these step-by-step instructions, you can transform your space with new, durable, and visually appealing flooring. Remember to take your time, measure accurately, and utilize the proper tools for a successful installation.
