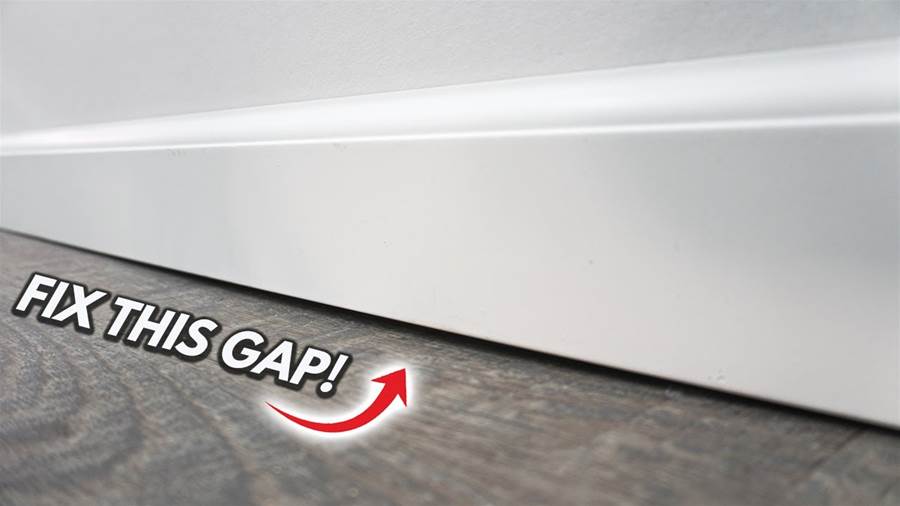
This article provides a step-by-step tutorial for beginners on how to fix gaps between the baseboard and floor for a perfect fit. It emphasizes a do-it-yourself (DIY) approach to address this common issue.
The first step is to assess the extent of the gaps. Use a measuring tape to determine the width and depth of the gaps. This information will help in selecting the appropriate materials for the fix. The most common materials used for this purpose are caulking, wood filler, or foam backer rod.
Once the gaps have been assessed, the next step is to prepare the baseboard for the fix. This involves removing any existing caulk or wood filler from the gaps.
A putty knife or a scraper can be used for this purpose. It is essential to ensure that the gaps are clean and free of any debris before proceeding to the next step.
After preparing the baseboard, it is time to fill the gaps. If the gaps are small, caulking can be used. Apply a bead of caulk along the gaps, making sure to fill them completely. Use a caulk smoothing tool or your finger to smooth out the caulk and create a seamless finish. Wipe away any excess caulk with a damp cloth.
In case the gaps are larger, wood filler or foam backer rod can be used.
Wood filler is a putty-like substance that can be applied to fill and level the gaps. Apply the wood filler evenly along the gaps, ensuring that it is level with the baseboard. Use a putty knife or a scraper to smoothen the filler and remove any excess.
On the other hand, foam backer rod is a flexible foam strip that can be inserted into larger gaps before applying the wood filler. The foam backer rod helps to create a solid base for the filler and prevents it from sinking into the gap. Cut the foam backer rod to the appropriate length, and then press it firmly into the gaps. Once the backer rod is in place, apply the wood filler over it and smoothen it out.
After filling the gaps with the desired material, allow it to dry for the recommended time mentioned on the product's packaging. Once the filler has dried, apply a coat of paint or stain to match the baseboard, if necessary.
In conclusion, fixing gaps between the baseboard and floor can be easily accomplished using DIY techniques. By following the step-by-step tutorial outlined in this article, beginners can achieve a perfect fit and achieve a seamless finish for their baseboards.
