Installing waterproof vinyl plank flooring is a simple yet effective DIY project that can give your home a fresh and stylish look. This article will guide you through the process of installing this type of flooring.
Firstly, it is important to prepare the subfloor before beginning the installation. The subfloor should be clean, dry, and level. Any existing flooring should be removed, and any cracks or imperfections should be repaired. It is also advisable to use a moisture barrier to protect the vinyl planks from any potential moisture damage.
Next, you will need to measure and cut the first row of vinyl planks to fit the width of the room. This can be done using a utility knife or a vinyl plank cutter. It is recommended to leave a 1/8-inch gap between the planks and the wall to allow for expansion.
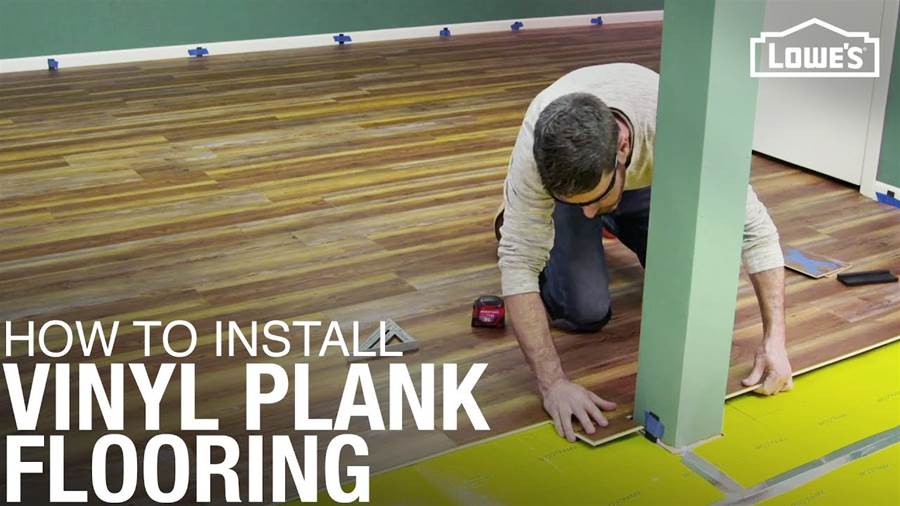
Once the first row is in place, you can continue installing the remaining rows by interlocking the planks together. Ensure that each plank is securely locked in place before moving on to the next one. It is important to stagger the planks to create a natural and seamless look.
To finish the installation, you can use a vinyl plank adhesive or double-sided tape to secure the edges and ends of the flooring.
Be sure to follow the manufacturer's instructions when applying the adhesive.
In conclusion, installing waterproof vinyl plank flooring is a straightforward process that can be easily done as a DIY project. By following the steps outlined in this article, you can achieve a beautiful and durable flooring option for your home.
