This article provides a step-by-step guide on how to remove and replace a rotten subfloor. The subfloor is an integral part of a building's structure, providing a solid and stable foundation for the flooring. Over time, the subfloor can become rotten due to moisture, leaks, or other issues.
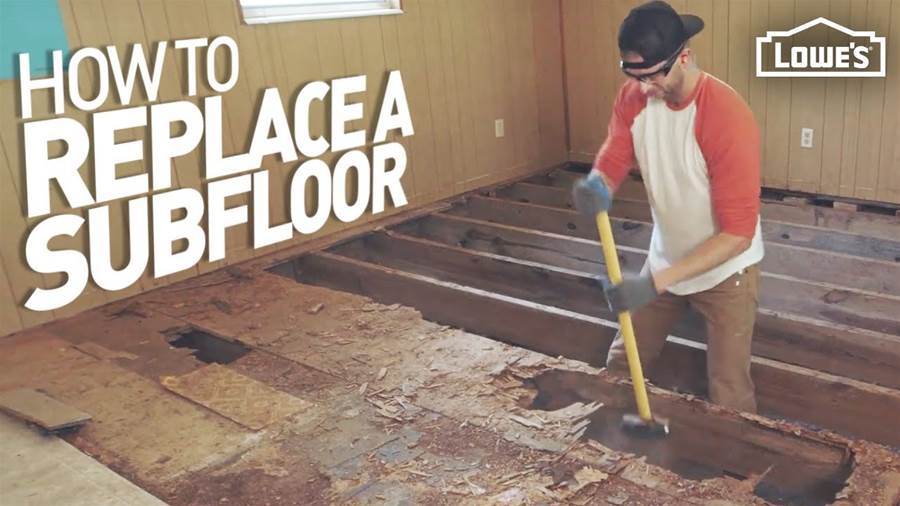
The first step in replacing a rotten subfloor is to determine the extent of the damage. This can be done by inspecting the flooring for any soft spots or signs of water damage. Once the damaged areas are identified, the next step is to remove the flooring and access the subfloor. This can be done by cutting out the damaged sections of the flooring using a circular saw or reciprocating saw.
After the damaged sections of the subfloor are removed, the next step is to replace them with new plywood or OSB (oriented strand board). It is important to cut the new subfloor to fit the exact dimensions of the damaged area. The new subfloor should be screwed or nailed into place, ensuring that it is tightly secured.
Once the new subfloor is in place, the next step is to install a moisture barrier. This is crucial to prevent any future moisture damage to the subfloor. The moisture barrier can be installed using a heavy-duty plastic sheeting or a liquid membrane.
Finally, the last step is to install the new flooring. This can be done by laying down a new layer of plywood or by installing new tiles, carpet, or hardwood flooring. It is important to follow the manufacturer's instructions and recommendations for the specific type of flooring being installed.
In conclusion, removing and replacing a rotten subfloor involves identifying the damaged areas, removing the old subfloor, installing a new subfloor, adding a moisture barrier, and installing new flooring. Following these steps will help ensure a solid and stable foundation for the building's flooring.
