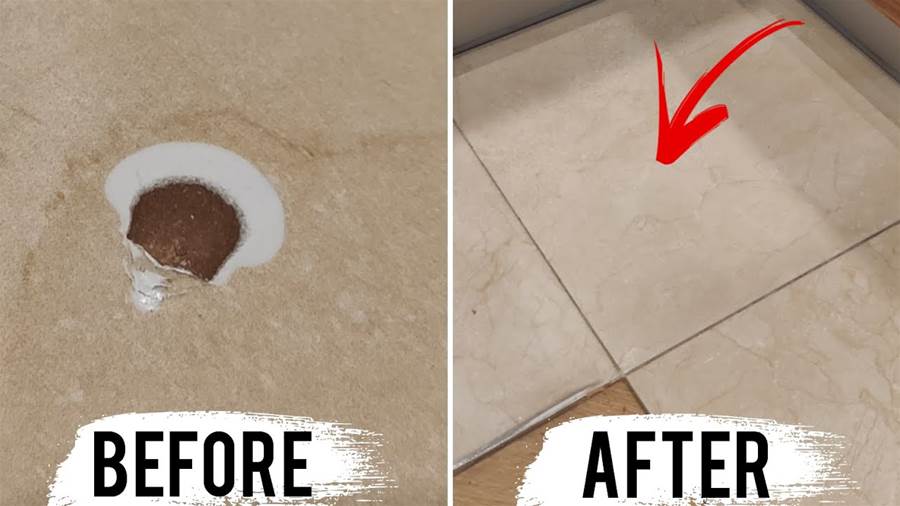
This article provides a simplified do-it-yourself guide for repairing ceramic tiles. It starts by discussing the importance of repairing cracked or damaged tiles promptly to prevent further damage and water leakage. The article then provides step-by-step instructions on how to repair ceramic tiles.
First, it advises gathering the necessary tools and materials, such as a chisel, hammer, tile adhesive, replacement tiles, and a grout float. The next step is to remove the damaged tile by gently chiseling away the grout and carefully prying the tile out. It is essential to be cautious and avoid damaging the surrounding tiles.
Once the damaged tile is removed, the article advises cleaning the area thoroughly to ensure the adhesive will stick properly. Then, a layer of tile adhesive should be applied to the area using a notched trowel. The replacement tile is carefully pressed into place, ensuring it aligns properly with the surrounding tiles. Excess adhesive should be wiped away.
Next, the article emphasizes the importance of allowing the adhesive to dry for the recommended amount of time before proceeding to grouting.
The grout is applied with a grout float, ensuring it fills all the gaps around the replaced tile. Excess grout should be wiped away, and the area should be left to dry.
In conclusion, this article provides a concise and straightforward guide to repairing ceramic tiles on your own. By following the step-by-step instructions provided, anyone can successfully repair damaged or cracked tiles, saving time and money by avoiding professional help.
